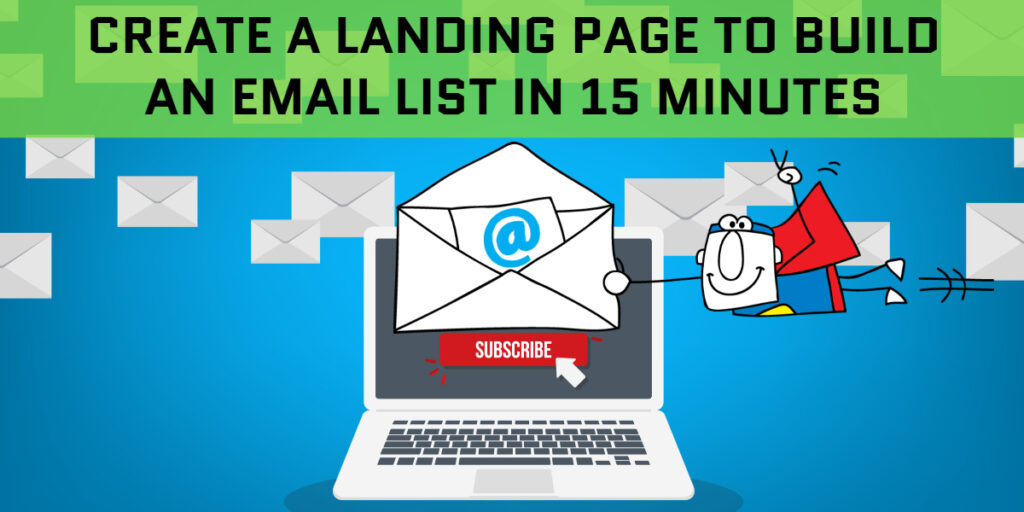
Before we dive into how to create a landing page without a website, let’s examine why we might need a landing page…
What is a landing page?
A landing page is a specific type of web page which is designed to convert visitors into leads which are added to your email list.
A landing page is sometimes also called an opt-in page or a squeeze page.
It offers something valuable to the page visitor, such as a free ebook or resource guide or worksheet in return for an email address.
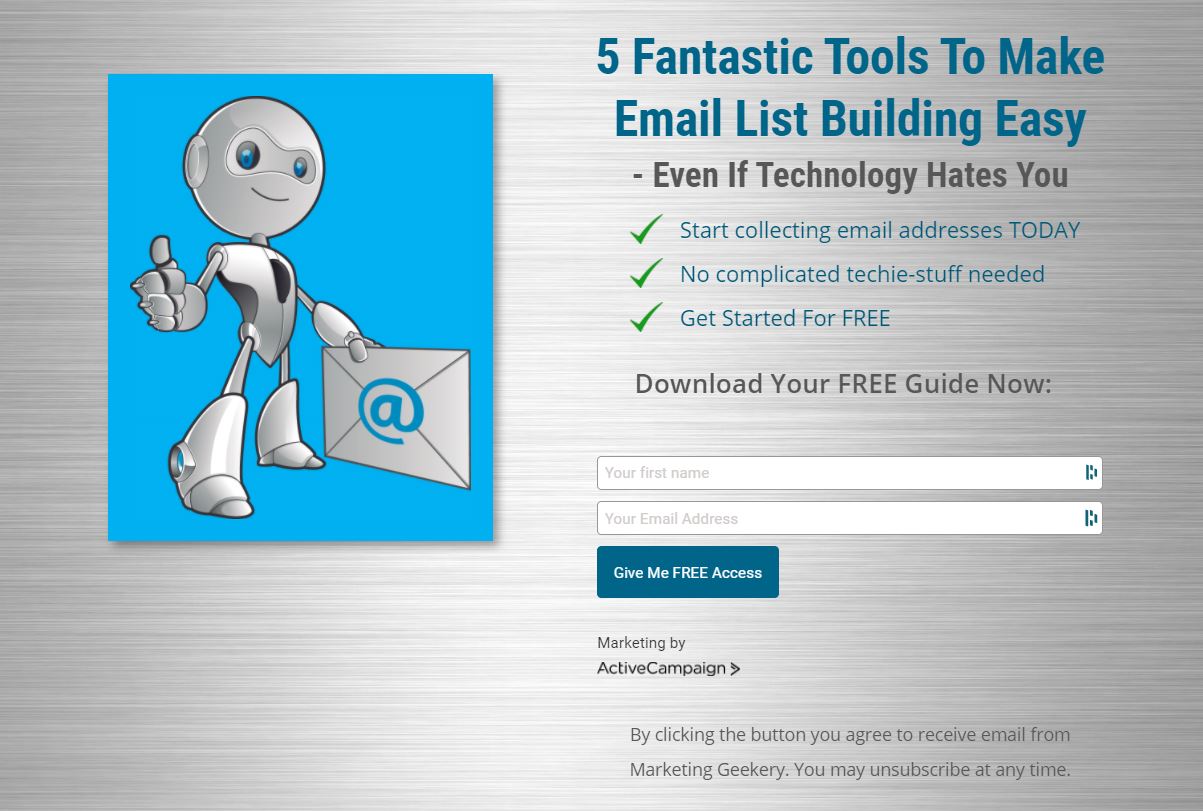
Here’s an example of a simple landing page that you may have seen before:

See how simple it is?
- An enticing background image
- A short description of what the subscriber will get when they opt in
- A box for them to ask for an email address
- A big red “call to action button” to click to get started
Yes, Netflix’s aim here is to SELL subscriptions…
But if the user doesn’t complete the sign-up process, they already have an address to send emails, showing the user what they would be missing by not taking out a subscription and encouraging them to sign up properly.
Why you need to build an email list
Building an email list is a great place to start when you’re thinking about making money online.
Once built, it provides a ready-made audience for any valuable product or offer you want to show them.
Unlike with social media, you won’t need to worry about your post not being seen by anyone or having to shell out a bunch of money on advertising every week.
But if you hate techie stuff, you might feel totally overwhelmed and not know how to get those leads onto a list.
You don’t have to worry. Building a list isn’t as difficult as you might think.
You’ll be pleased to hear that:
- You don’t need a ton of expensive online software and services
- You don’t need a website
- You don’t need any technical skills
- You definitely don’t need complicated funnels with upsells, downsells and uncle Tom Cobbley and all either!
- You can easily get started for free using user-friendly software services that will grow with your business
Keep it as simple as possible at first and you’re more likely to stick with it and succeed.
In fact, you never really need any complicated fancy stuff unless you really want to add it.
All you need to get started is a basic “opt-in funnel”:
- A landing page – to collect email addresses
- An autoresponder service – to store emails & send newsletters
- A lead magnet – ie a tempting freebie / gift to give away in exchange for an email address
- A Thank You page
That’s it! 😎

An opt-in funnel can be very simple. Leads drop in the top and subscribe to your list.
If you make a no-brainer low-ticket offer after they opt-in, some will buy from you and become customers.
It’s a win-win. Your leads and customers get something valuable and you get the satisfaction of helping them and money in return.
The best way to visualize a basic opt-in funnel is like this:

The first thing you need to build an email list is a Landing Page
So, let’s look at how we can do this quickly with just one tool…
I recommend using ActiveCampaign for this because the features exceed any you get with other similar software (autoresponders) and you can get started for free.
If you haven’t got an ActiveCampaign account, grab yourself a 14 day free trial here so you can follow along (no credit card is needed).
Creating Your Landing Page
Now comes the fun part – let’s can start building your landing page to collect those email addresses.
Before you get cold feet and run screaming for the nearest exit, don’t worry – ActiveCampaign will do most of the work for you, so you can build one even if you’re not tech savvy.
Did I mention you can get started for free?
You get built-in templates too, so you can get a great-looking landing page up and running in just a few minutes! Woohoo! 🤓
Anyway, you’ll need to setup a few things first.
This video will walk you through the steps to get started with ActiveCampaign in 6 minutes
Once you’re all set up come back here.
I’ll wait.
Ready? Let’s begin 🙂
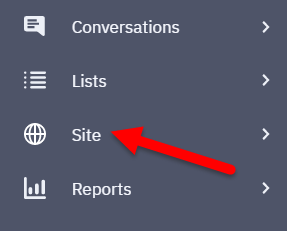
In your ActiveCampaign dashboard, click on ‘Site’ in the left-hand menu.
Make sure Pages is highlighted in the left-hand menu on the next page, then click ‘Add a new page’ on the right
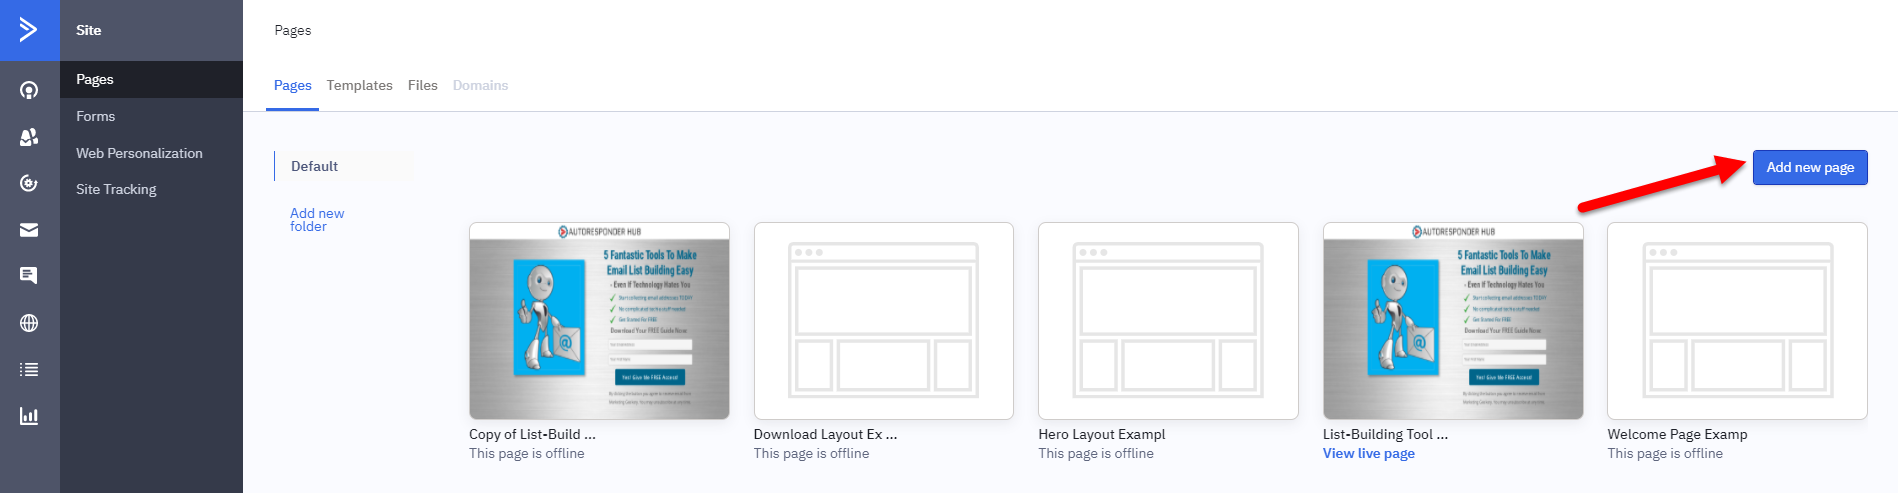
The Choose A Template page will now load (see below).
On this page you can check out any of the templates by hovering your mouse over it and choosing to preview it.

Once you’ve chosen a template, click ‘use this template’.
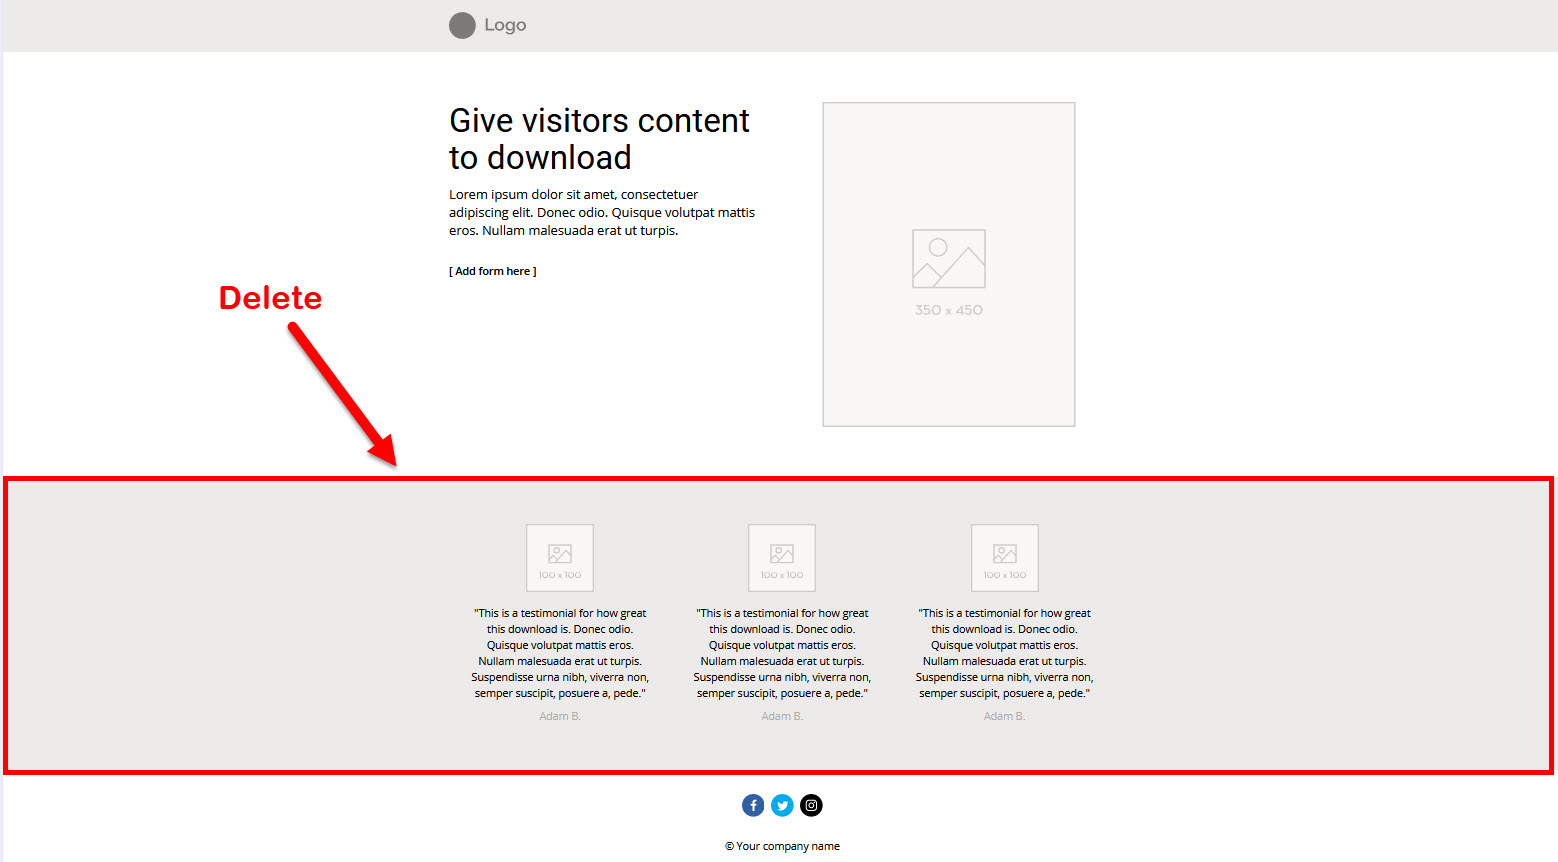
I like to use the Download Layout because it’s nice and simple and not too distracting.
It’s pretty easy to edit it to add your own content. I would delete the part highlighted in the red box below. You can add benefits here, but I prefer to do it as I will show you so that the entire page content appears on the screen.
To do this, just click on the section and click the trashcan on the top right of the editor, or just hit delete on your keyboard.
To edit any section, just click on it and the blocks menu will appear on the right hand side. It looks like this:
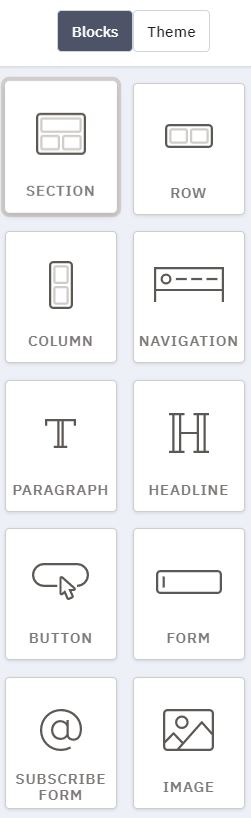
Click on ‘Theme’ to show the formatting and other options for the current block.
Here’s an example of the Theme menu. Options will differ for different types of block:
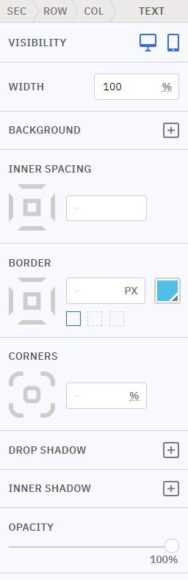
Your landing page design is very customisable from the theme menu.
Depending on the type of block you can change everything from the colour of text to spacing, shadow and more.
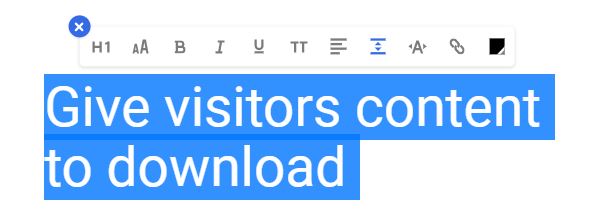
To edit text, double click it and the text formatting menu will appear, so you can change the font size, select various heading or paragraph types and more.
If you make a mistake at any time and want to undo it, just click the undo icon at the top right of the page (to the left of the Publish Page button)
You can easily drag blocks around to move them too, as well as duplicating them or copying and pasting.
Although the editor takes a bit of getting used to, it’s not complicated and I cannot fault it, especially as it’s included for free with ActiveCampaign.
To learn more about blocks, check out this post.
From here you can customise your page as much or as little as you like.
I won’t go into detail here, but if you do as I suggest, the only changes you need to make are:
- Add your logo at the top
- Add your headline text
- Add a little bit about your lead magnet – ie why should they sign up?
- Add an eye-catching image – eg a picture of your product
- If you are using the Download Layout template, you’ll also need to add a form (see below)
- Company name and copyright notice in the footer
- Privacy pages & cookie notice
How To Add An Opt-In Form To Your Landing Page
Before we add anything to the page, we need to create a form if you haven’t already done so and copy the code snippet.
Don’t panic, the most technical thing this requires is a copy and paste.
So, Click “Forms” in the menu of your ActiveCampaign dashboard
If you haven’t already created a form to use, follow the instructions here to create one
To get the embed code, click “Edit” on the form you want to use.
On the top right of the edit form window, you’ll see the “Integrate” button. Click it.
Copy the Simple Embed code. It will look something like this:

Paste it into notepad, so you don’t lose it.
Then Save & Exit
To embed the opt-in form you created into your landing page, head back to the Pages menu:
Click Site->Pages in the left hand menu.
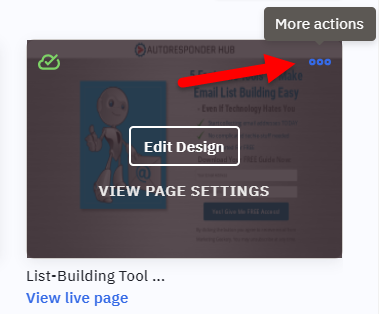
Hover your mouse over the landing page you want to edit and click “Edit Design”
Now check that the “Blocks” menu is highlighted at the top right of the window.
Next, find the Embed block in the blocks menu. It looks like this:

You might need to scroll to find it in the menu because it’s near the bottom.
Now I know it looks like it’s getting technical, but it isn’t difficult, I promise.
Drag the Embed block over to the place on the landing page where you want to add your opt-in form. It will look pretty boring like this:

With the embedded component highlighted as above, look to the menu on the right.
See the tiny placeholder text (Embedded Component) below? Good.
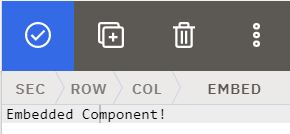
Now delete the placeholder text “Embedded Component!” and paste in the embed code you copied earlier.
Click here for alternative instructions to add a form to your landing page
Once you get used to the ActiveCampaign page builder, you should be able to create something like this in a few minutes:
I recreated the above page from my live landing page built with Convertri, a dedicated page builder.
Although it’s not exactly the same, I think you’ll agree it’s pretty similar to my live page and it saves you the cost of a page builder!
Click here to see the live page on Convertri
Thank You Page
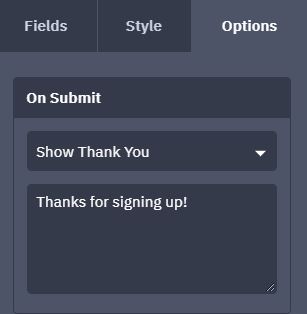
When you set up your form (Site->Forms), you might have noticed the default ‘Thank You’ message that will be shown to opt-ins to your email list:
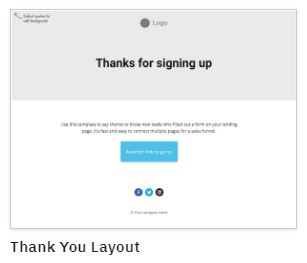
If you want a customised one to greet your new subscribers properly and to maybe make an offer, you can create one in the same way that you made your landing page.
A good template to start with is the ‘Thank You Layout’ which looks like this in the menu:
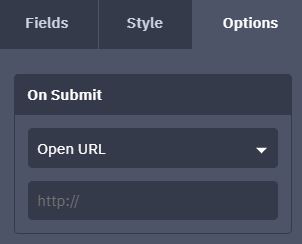
Once you have designed and published your Thank You Page, you can change what happens on Submit in the Form editor.
Change ‘Show Thank You’ in the drop-down menu (above) to ‘Open URL’ and paste in the link to your published Thank You page.
The URL you need to paste in can be found in the main Site->Pages page.
Hover over the Thank You page and you will see three little dots on the top right:
Click on that and then ‘Get URL’.
A little window will pop up with the URL for you to copy.
And there you have it, you have created a landing page to start building your list right away, without a website and without spending a penny.
With a bit of practise this can be done in 15 minutes or less!
You have the added advantage of a fantastic autoresponder service that will grow with you, so you won’t need to shell out on multiple different tools until you are ready.
Other Useful Free Resources
- Headline Analyzer – help with writing powerful headlines
- Pixabay – Great place to find stunning free images
- Crello – Create an eye-catching image with this easy-to-use graphic design tool
- Opt-In Page Examples – Lead Pages highest converting opt-in pages for inspiration. Not that I recommend Lead Pages itself.
- Free Legal Pages – generate cookie consent, privacy policy and terms and conditions pages for feee
- ConvertKit – I much prefer ActiveCampaign for the brilliant features is has which will be useful as your business grows, but ConvertKit is good solid basic an alternative that will give you 1,000 free subscribers too.
Keep in mind that we may receive commissions when you click our links and make purchases. However, this does not impact our reviews and comparisons. We try our best to keep things fair and balanced, in order to help you make the best choice for you.
Great article! This was very well done and extremely helpful. I appreciate your effort to write such worthy content.
active campaign certified